Table Of Contents
Leveraging Pipe Dope
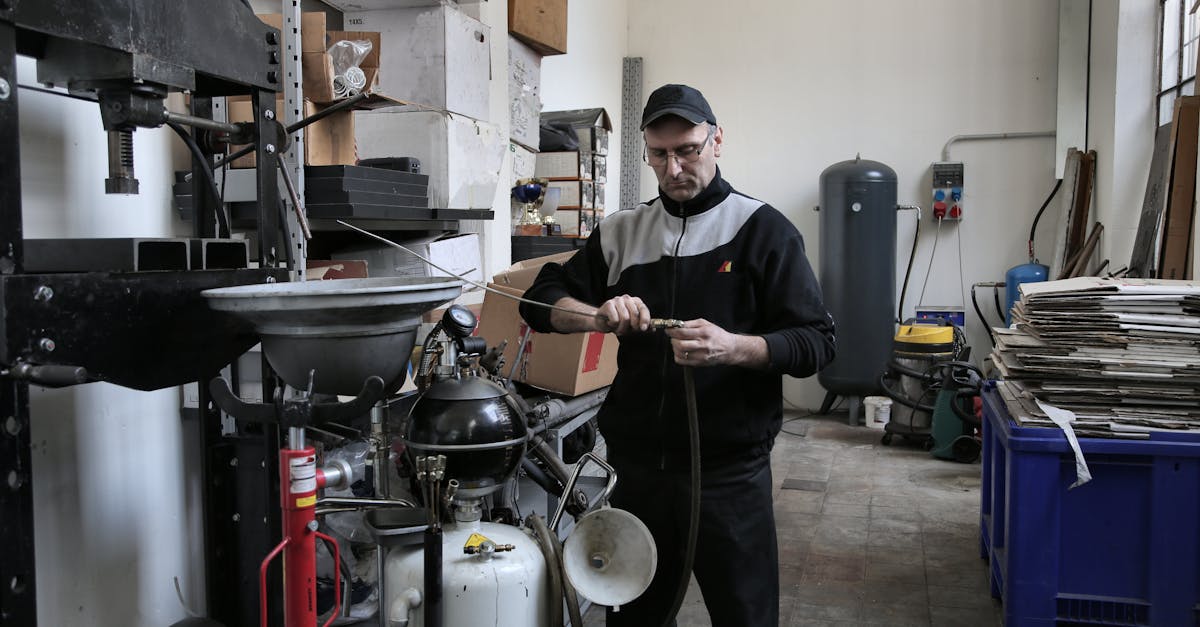
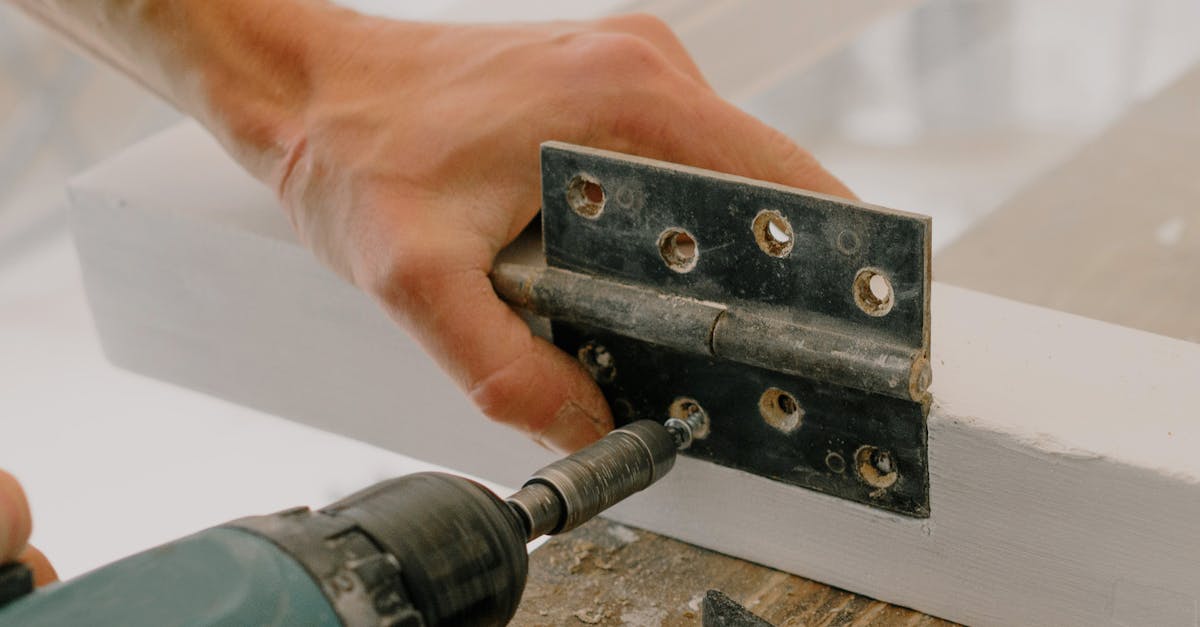
Pipe dope, or pipe joint compound, is a versatile solution for sealing threaded joints and preventing leaks. When dealing with gas line installation and repair, applying pipe dope can provide a reliable barrier against gas escaping. This compound is designed to fill the microscopic gaps between threads, offering a durable seal that helps maintain pressure integrity in piping systems. It's important to use a product specifically formulated for gas applications, as this will ensure compliance with safety standards and regulations.
For effective application, begin with clean, dry threads to ensure optimal adhesion. Apply a moderate amount of pipe dope, ensuring it covers all threads without excessive buildup. Overapplication may lead to difficulties during joint tightening. After the compound is evenly distributed on the threads, join the components together while maintaining proper alignment. This method creates a strong seal, reducing the risk of leaks and providing peace of mind in gas line installation and repair scenarios.
How to Apply Pipe Joint Compound Effectively
When dealing with a leaking threaded joint, applying pipe joint compound correctly can significantly enhance the seal. It’s crucial to begin with a clean surface, free of debris and old sealant. Use a suitable brush or a cloth to remove any dirt or residue from the threads. After cleaning, apply the pipe joint compound evenly around the male threads. Make sure to coat all threads without over-applying, as excess compound can squeeze out during tightening, potentially leading to further leaks. In the context of gas line installation and repair, it’s essential to choose a compound specifically rated for gas to ensure safety and compliance with relevant regulations.
Once the pipe joint compound is applied, carefully reconnect the joint, ensuring that you do not cross-thread it. Tightening should be done with the appropriate tool, applying even pressure to achieve a snug fit. Avoid overtightening, which can damage the threads and compromise the integrity of the seal. After the joint is secured, allow the compound to cure according to the manufacturer's instructions before testing for leaks. This methodical application process not only helps in resolving leaks but is vital in ensuring the system’s adherence to safety standards related to gas line installation and repair.
Temperature Considerations
Temperature plays a crucial role when attempting to fix a leaking threaded joint. High temperatures can cause materials to expand, while colder conditions may lead to contraction. Both scenarios can affect the integrity of your repair. It is advisable to perform fixes when the pipes are at a stable temperature, ideally at ambient conditions. When dealing with hot pipes, precautions must be taken to avoid burns or accidents.
Additionally, temperature considerations are especially important in gas line installation and repair. Gas lines are sensitive to changes in temperature, which can influence pressure and potentially lead to further leaks if not adequately addressed. Always ensure your safety by using appropriate gear and tools designed for the temperature of the pipes you are working with. Taking these factors into account can make a significant difference in the success of your repair efforts.
Best Practices for Working with Hot and Cold Pipes
When working with hot pipes, it’s essential to take precautions to avoid burns or other injuries. Wear appropriate protective gear such as gloves and goggles. Before applying any sealant or compound, allow the pipe to cool down as much as possible. This ensures that the materials adhere properly and reduces the risk of harm while you work.
For cold pipes, condensation can be an issue that affects the application of sealants. Ensure the surface is dry to promote a strong bond. If necessary, wipe down the area with a dry cloth before applying any products. During gas line installation and repair, adhering to these practices not only improves your chances of a successful fix but also maintains safety and efficiency throughout the process.
Testing for Leaks After Repair
Once the repair is completed and any necessary adjustments have been made, it's crucial to test for leaks to ensure a secure joint. A common method involves applying a soapy water solution to the repaired area. This solution will produce bubbles if there is any escaping gas or liquid, effectively signalling a problem that needs addressing. Always check thoroughly, particularly around the joints, as these are typically the most vulnerable points in a system.
In addition to the soapy water test, consider using a gas leak detector for a more precise inspection, especially in gas line installation and repair scenarios. This specialised tool can quickly pinpoint even the slightest escapes, providing peace of mind that your repair is effective. Remember, thorough testing not only safeguards against potential hazards but also reinforces the integrity of the entire piping system.
Methods to Ensure a Secure Fix
When addressing a leaking threaded joint, it's crucial to ensure a solid application of pipe dope. Begin by thoroughly cleaning the joint to remove any old sealant, grime, or debris. Apply the compound evenly and liberally around the threads of the joint. Make sure to fit the joint tightly together, allowing the compound to fill any gaps and create an effective seal. This method not only applies to standard plumbing but also plays a vital role in gas line installation and repair, where any leakage can pose serious risks.
After applying the pipe joint compound, it's essential to test the integrity of the joint. Use a non-corrosive leak detection solution to check for bubbles that indicate escaping gas or water. A thorough inspection should be carried out after the compound has set for the specified time, ensuring that all areas are secure. If any signs of leakage remain, further adjustments may be necessary. Regular maintenance and checks will contribute to the longevity and reliability of your installations, keeping both plumbing and gas lines secure.
FAQS
What is a threaded joint?
A threaded joint is a connection between two pipes or fittings that are joined together using male and female threads, allowing for a secure and often leak-proof seal.
Can I use pipe dope on any type of pipe?
Pipe dope is generally suitable for metal pipes and fittings; however, it's essential to check the specific product's compatibility with the materials you are working with, particularly for plastic or PVC pipes.
What are the best practices for applying pipe joint compound?
Best practices include cleaning the threads thoroughly before application, applying a thin, even layer of compound, and tightening the joint according to the manufacturer's recommendations.
How can I tell if my pipes are too hot or too cold to work on?
You can test the temperature of the pipes by carefully touching them; if they feel excessively hot or cold to the touch, it’s best to wait until they reach a more moderate temperature before attempting repairs.
What methods can I use to test for leaks after fixing a threaded joint?
You can use a mixture of soapy water to check for bubbles at the joint or employ a pressure test to confirm that the repair holds under normal operating conditions.