Table Of Contents
Securing the Toilet Seat
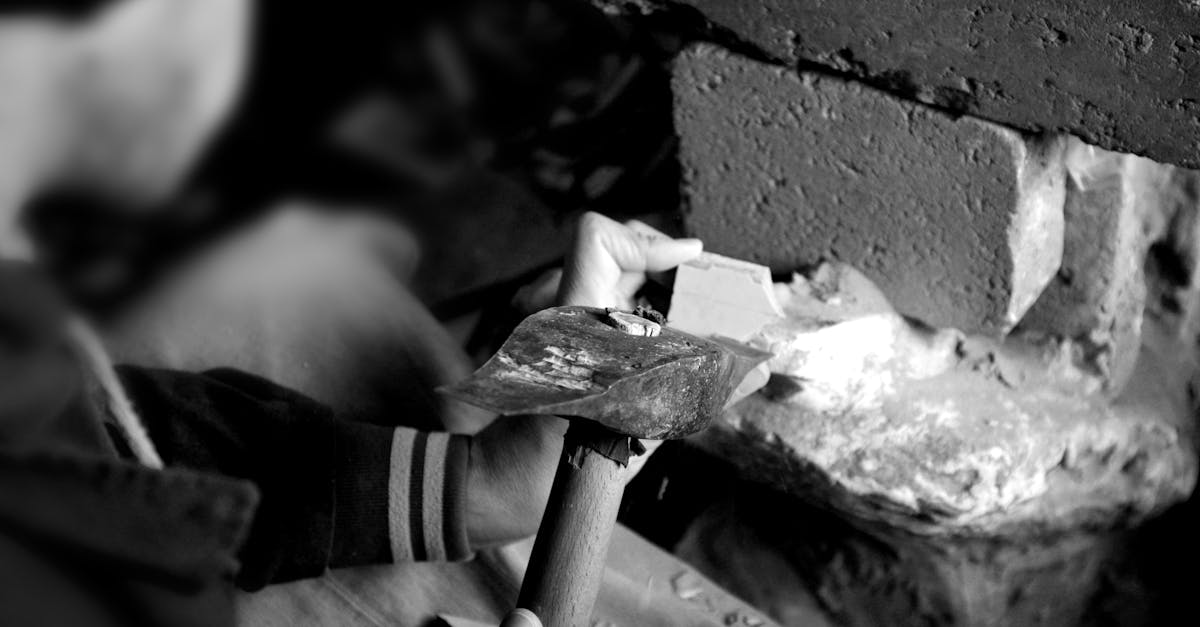
Position the toilet seat over the bowl, ensuring alignment with the mounting holes. Insert the bolts through these holes from underneath, securing them with washers and nuts. Ensure the bolts are straight and seated properly. Hand-tightening the nuts initially will allow for adjustments later if needed. It’s important to start loosely to accommodate any slight shifts in alignment during the final tightening process.
Once in place, gradually tighten the nuts using a wrench. Avoid over-tightening as this can lead to cracks in the toilet seat or damage to the porcelain. Check for a secure fit by gently wiggling the seat from side to side. A stable installation is essential for both comfort and durability. If you experience difficulties, you may want to consult a professional in toilet installation and repair to ensure optimal results.
Techniques for Proper Tightening
Ensuring the toilet seat is securely tightened is essential for both safety and comfort. Begin by aligning the seat over the bowl with the mounting holes. When you insert the bolts, make sure they are even and just snug. Over-tightening can crack the toilet bowl or bend the seat hinges, which may cause misalignment over time. Use a flathead screwdriver to hold the nut in place, while you turn the bolt with a socket wrench. This technique allows for more control and reduces the risk of damaging components during the process.
For effective results, always check your progress periodically. After tightening the bolts, gently wiggle the seat from side to side to ensure it doesn't shift. If it feels loose, adjust the bolts slightly until you achieve a firm fit. Inspecting the seat after installation is part of routine toilet installation and repair maintenance. A properly secure toilet seat not only enhances the user experience but also helps to prolong the life of the fixture.
Testing the Installation
Once you have secured the toilet seat, it's essential to test the installation to ensure everything is functioning properly. Sit down gently on the seat to evaluate its stability. Any wobbling or movement may indicate that the bolts are not tightened correctly or that the seat is misaligned. Adjustments can be made by either tightening the bolts or realigning the seat as needed.
Ensuring comfort while using the toilet is equally important. Pay attention to how the seat feels during this testing phase. A well-installed toilet seat should provide a stable and comfortable experience. If you notice any discomfort or instability, revisiting toilet installation and repair methods may help address these issues, guaranteeing longevity and satisfaction with your setup.
Ensuring Stability and Comfort
After securing the toilet seat, it is crucial to ensure its stability and comfort for optimal use. Gently apply pressure on the seat to test for any movement. A properly installed seat should remain firm without any wobbling or shifting. If you detect instability, review the tightening process to ensure screws are adequately adjusted. Even slight looseness can lead to discomfort during use, making it essential to address any issues promptly.
In the context of toilet installation and repair, providing a stable and comfortable toilet seat creates a significant difference for everyday use. Consider user preferences when selecting the type of seat, whether it be a standard model or one designed for additional comfort. Padded options or ergonomic shapes can enhance the sitting experience. An effective installation not only supports functional use but also contributes to overall bathroom satisfaction.
Common Installation Errors
One common installation error arises from improper tightening of the bolts. Over-tightening can crack the porcelain of the toilet, while under-tightening can lead to instability. Both issues result in an uncomfortable seating experience and require attention during the installation process. When preparing for toilet installation and repair, it’s crucial to find the right balance. Ensuring that the bolts are snug but not excessively tight will contribute significantly to the longevity of the seat.
Another frequent mistake is failing to properly align the seat with the toilet bowl. Misalignment can lead to uneven wear of the seat and discomfort for the user. To avoid this pitfall, it's essential to ensure that the seat’s hinges are perfectly lined up with the holes on the toilet. A thorough double-check before final tightening can save time and prevent potential issues down the line. Taking these steps during the initial setup will enhance both the functionality and the overall comfort of the toilet seat.
Avoiding Pitfalls for a Smooth Setup
When undertaking toilet installation and repair, it is vital to pay attention to the instructions provided by the manufacturer. Many people overlook the importance of following these guidelines, leading to issues such as misalignment or improper fastening. It is advisable to gather all necessary tools before starting the installation to ensure a smooth process. Skipping this preparation can result in unnecessary interruptions, putting your project on hold.
One common pitfall is over-tightening the screws, which can crack the toilet seat or damage the toilet itself. It is essential to apply even pressure while tightening the bolts, ensuring the seat is secure without causing stress to the material. Regularly checking the tightness after a few uses can prevent future instability. By being mindful of these potential errors, you can achieve a successful installation that provides comfort and durability.
FAQS
What tools do I need to install a toilet seat?
To install a toilet seat, you typically need a screwdriver (either Phillips or flathead, depending on the screws), an adjustable wrench, and possibly a drill if you're replacing the existing bolts.
How do I know if I'm buying the right toilet seat for my toilet?
To ensure you're purchasing the right toilet seat, check the shape of your toilet bowl (round or elongated) and measure the distance between the mounting holes. Most toilet seats come with specifications that can help you determine compatibility.
Can I install a toilet seat by myself, or do I need assistance?
Yes, you can install a toilet seat by yourself as it is a straightforward process. However, having a second pair of hands can be helpful for holding the seat in place while you secure it.
What should I do if the toilet seat is wobbling after installation?
If the toilet seat is wobbling, check to ensure that the bolts are tightened properly. If they are secure and the seat is still unstable, you may need to replace the washers or inspect the seat's mounting holes for damage.
How often should I replace my toilet seat?
It's advisable to replace your toilet seat every few years or sooner if it becomes stained, cracked, or uncomfortable. Regular cleaning and maintenance can also extend the life of your toilet seat.