Table Of Contents
Marking the Toilet Position
Before commencing any toilet installation and repair, it's essential to determine the precise location for the toilet. Begin by measuring the distance from the wall to the expected location of the toilet. This distance typically ranges from 200mm to 300mm, depending on the model. Use a pencil to mark the position on the concrete slab, ensuring that the markings are clear and accurate. This step helps to visualise the installation layout and prevents any errors during the drilling and fixing process.
Next, consider the existing plumbing and drainage lines. Ensure that your marked position aligns with the existing waste pipe and that it complies with local building codes. This assessment is crucial to avoid complications during installation. You can use a level to double-check the position of the marks to ensure that the toilet will sit evenly once installed. Taking the time to carefully mark the toilet’s position will significantly streamline the installation process and result in a more efficient setup.
Accurate Measurements for Effective Installation
Accurate measurements are essential for successful toilet installation and repair, especially when working on a concrete slab. Begin by identifying the ideal location for the toilet, ensuring it aligns with existing plumbing. Use a tape measure to determine the distance from the wall to the centre of the drain. Record these measurements clearly, as any inaccuracies can result in complications during installation.
After establishing the correct position, it’s important to mark the spot precisely on the concrete. A pencil or marker can be used for this task. Additionally, consider the spacing between the toilet and other fixtures to maintain comfort and accessibility. Ensuring that the measurements are correct will facilitate a smoother installation process and minimise the chances of future issues.
Drilling into the Concrete
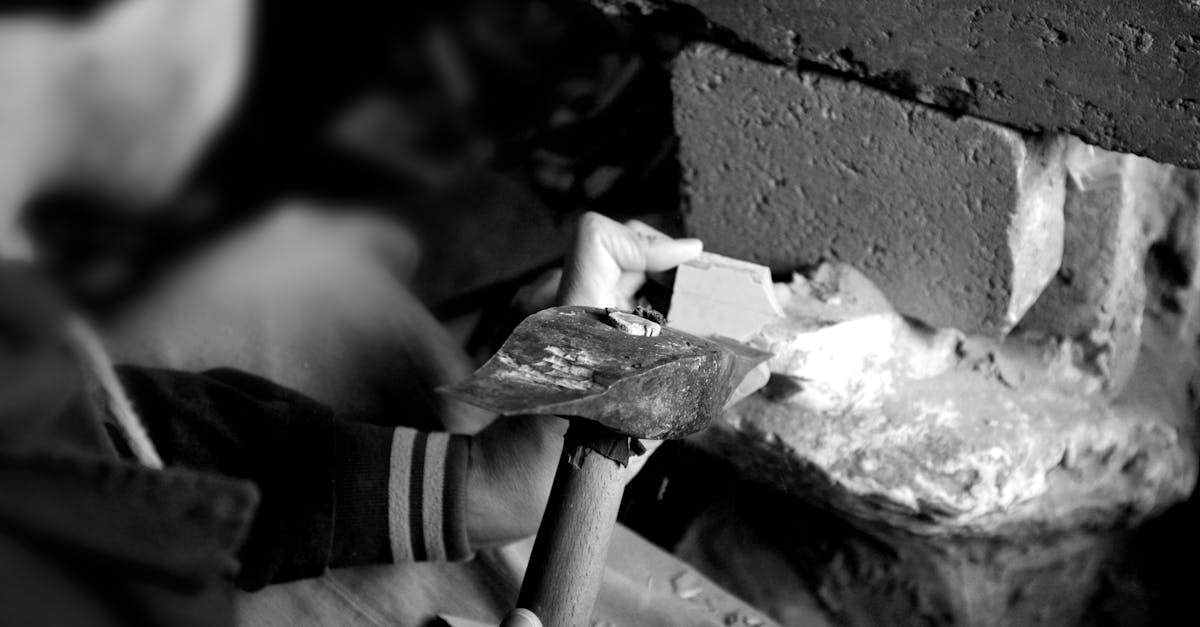
Drilling into concrete requires the use of a high-quality hammer drill along with the right masonry bits. It's essential to ensure that the drill is set to the appropriate mode for optimal performance. Begin by marking the precise locations where the holes will be drilled, as accurate placement is crucial for effective toilet installation and repair. Always work at a steady pace, applying moderate pressure to allow the drill to penetrate the surface without overheating.
Safety should be a top priority during this process. Wearing safety goggles protects your eyes from dust and debris, while a dust mask can help prevent inhalation of fine particles. Keeping a vacuum or a wet sponge nearby can assist in managing the dust generated from drilling, creating a cleaner work environment. Once the holes are drilled, ensure they are deep enough to accommodate the anchors or screws required for securing the toilet flange. This attention to detail lays a solid foundation for a successful installation.
Techniques and Safety Precautions
When drilling into concrete, it is essential to use the right tools and techniques to ensure a successful outcome. A hammer drill or rotary hammer is best suited for this task, as these tools provide the necessary power to penetrate the hard surface effectively. Select a carbide-tipped masonry bit appropriate for the size of the holes needed, ensuring it matches the specifications of the toilet flange. Always wear safety goggles to protect your eyes from flying debris and consider using ear protection due to the high noise levels generated by the equipment.
Safety precautions cannot be overstated during the process of toilet installation and repair. Keep your work area clear of clutter to minimise the risk of accidents. Check for any hidden utilities before drilling to ensure that you do not damage plumbing or electrical lines. It’s also important to maintain a stable stance while using power tools to prevent slips or falls. Familiarising yourself with the manufacturer’s instructions for both your tools and the toilet components will help avoid common pitfalls during installation.
Installing the Toilet Flange
Once the toilet has been positioned correctly, the next step is to install the toilet flange. This component is crucial because it connects the toilet to the waste pipe while providing stability. Begin by ensuring the area around the drain is clean and free from debris. Carefully place the flange over the drain hole, aligning the flange holes with the pre-drilled holes in the concrete slab.
Using concrete screws, secure the flange into place, making sure it is level and properly anchored. This alignment is essential for effective drainage and to prevent future leaks. Adequate sealing around the flange will further enhance its integrity. Familiarity with the specifics of toilet installation and repair can greatly simplify this process, ensuring that the toilet is securely mounted and functioning as intended.
Steps to Secure a Flange on Concrete
Securing a toilet flange on a concrete slab requires precision to ensure a stable and leak-free installation. Begin by positioning the flange over the drain hole, making sure the slots for the screws are aligned with the foundations of the toilet. Utilise a level to confirm that the flange is flush with the surface of the concrete. This alignment is crucial because an improperly positioned flange may lead to a wobbly toilet or potential leaks in the future, complicating toilet installation and repair.
Once the flange is perfectly aligned, use a hammer drill with a masonry bit to create holes in the concrete at the indicated screw slots. Clean any debris from the drilled holes, then insert anchor bolts to secure the flange to the slab. Tighten the bolts gradually to avoid cracking the flange. This careful approach enhances the longevity of the installation, ensuring that the toilet remains stable over time. Proper flange installation is an essential step in successful toilet installation and repair.
FAQS
What tools do I need to install a toilet on a concrete slab?
You will require a few essential tools, including a hammer drill, a masonry bit, a socket wrench, a level, a tape measure, and a screwdriver. Additionally, having a rubber mallet and a caulking gun can be helpful for securing fittings.
How do I determine the correct position for the toilet?
To determine the correct position for the toilet, measure the distance from the wall to the existing drain pipe and mark this on the concrete slab. Ensure the position allows for adequate space around the toilet for comfort and accessibility.
What safety precautions should I take when drilling into concrete?
Always wear safety goggles to protect your eyes from dust and debris, and use ear protection, as drilling can be quite loud. Ensure your work area is clear of obstacles and that you are using the correct drill bit for masonry.
How do I secure the toilet flange to the concrete slab?
After positioning the toilet flange, drill holes into the concrete using a hammer drill, insert anchors, and then attach the flange using the provided screws. Make sure it is level and securely fastened before proceeding with toilet installation.
Can I install a toilet on a concrete slab myself, or should I hire a professional?
Installing a toilet on a concrete slab can be a DIY project if you have the necessary tools and skills. However, if you are unsure or uncomfortable with any part of the process, it is advisable to hire a professional plumber to ensure a proper installation.