Table Of Contents
Installing Support Frames
When embarking on toilet installation and repair, the first and crucial step involves the installation of support frames. These frames are essential as they provide the necessary structural integrity to hold the wall-hung toilet securely. It is vital to choose a frame that accommodates the specific model of toilet being installed. Additionally, ensure the frame is compatible with the existing plumbing layout. Proper positioning is also key, as the frame should be aligned at a height that meets both functionality and comfort standards for users.
Once the appropriate support frame is selected, the next task is to secure it firmly to the wall. Use suitable anchors and screws, ensuring they penetrate into the studs or masonry for stability. Level the frame to prevent any imbalance during installation. After securing the frame, double-check all fittings and connections for correctness. This foundational work lays the groundwork for a successful toilet installation and repair, allowing for a straightforward attachment of the toilet bowl in subsequent steps.
Properly Securing the Frame to the Wall
Securing the support frame to the wall is a crucial step in toilet installation and repair. Begin by locating the wall studs using a stud finder. Ideally, the frame should be anchored directly to these studs for optimal stability. Drill pilot holes through the frame into the studs, ensuring the frame is level before securing it in place. Use appropriate screws for the material of the wall to ensure a strong hold. Additional bracing may be required in some installations, particularly in older homes with less sturdy wall structures.
Once the frame is securely fixed, it is important to double-check the alignment. This can help avoid complications later during the installation of the bowl. The frame must be flush with the wall surface to ensure a proper seal when the toilet is mounted. Adjustments can be made by loosening screws slightly and repositioning the frame as needed. After confirming everything is correctly aligned, tighten the screws firmly. This thorough approach not only supports the toilet’s weight but also prevents wobbling and potential damage over time.
Connecting Water Supply Lines
Connecting the water supply lines is a crucial step in the process of installing a wall-hung toilet. Begin by identifying the appropriate plumbing connections, ensuring that all tools and materials are ready for use. The main water supply line should be accessible and free from any obstructions. Using a suitable shut-off valve is essential to control water flow during installation. It's important to check for any existing leaks in the lines before proceeding with your connections, as this will prevent potential issues later.
When making the necessary connections, ensure to follow all plumbing guidelines specific to your area. The water supply line must be connected securely to the new toilet's inlet valve. Tightening the connections carefully will help avoid leaks and ensure proper function. After securing the connections, turn on the water supply gradually and observe for any leaks. Proper installation and maintenance are key in toilet installation and repair, contributing to a reliable and efficient bathroom experience.
Guidelines for Plumbing Connections
When connecting the water supply lines for your wall-hung toilet, it is essential to ensure that all plumbing connections comply with local regulations. This includes using suitable materials such as copper or PEX, which provide reliability and durability. Each connection should be checked for tightness, as leaks can lead to significant damage over time. Ensure that the inlet valve is installed properly and is easily accessible for future maintenance.
Before finalising the installation, it's advisable to test the water supply connections. Turn on the water supply and inspect all joints for any signs of leaking. A well-executed toilet installation and repair process requires attention to detail to guarantee the longevity of the system. Address any issues promptly to prevent future complications. Regular checks on these connections can help maintain the efficiency and functionality of the toilet system in the long run.
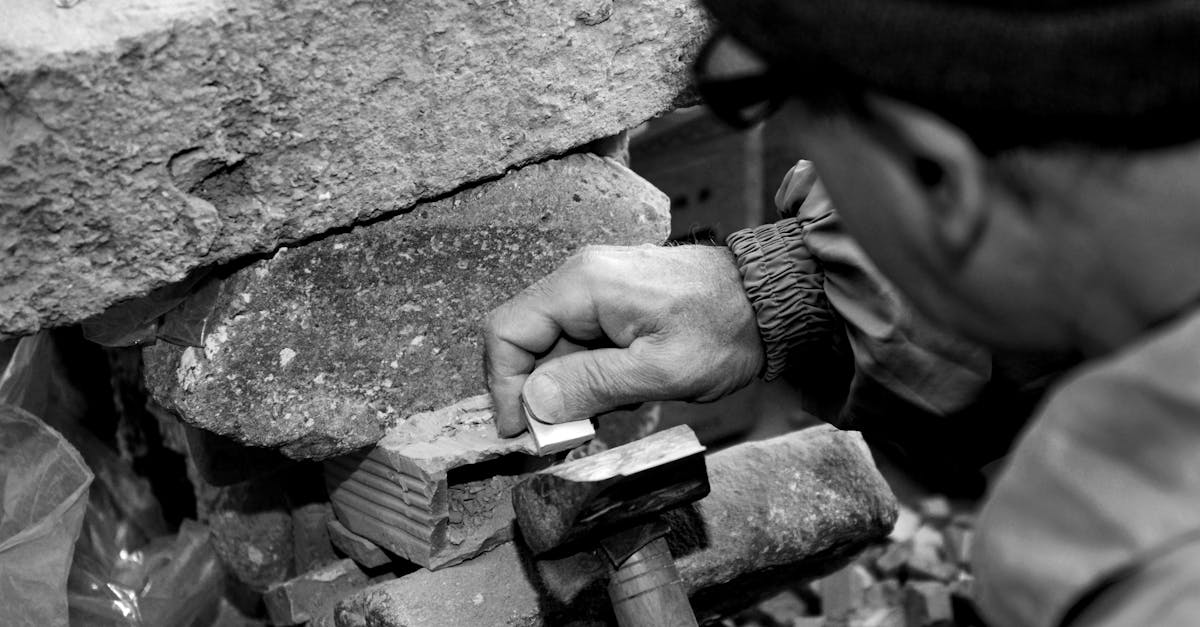
Fixing the Toilet to the Frame
Attaching the bowl securely to the frame requires careful alignment and fastening to ensure stability. Begin by positioning the toilet bowl over the bolts protruding from the wall-mounted frame. Gently press down to align the holes at the base of the toilet with the bolts. Once correctly lined up, use a washer and nut on each bolt to secure the toilet firmly to the frame, taking care not to overtighten as this may cause damage to the porcelain.
After securing the toilet bowl, it is essential to check for any movement or wobbling, which could indicate an improper fit. A level can be used for this purpose, ensuring that the toilet is even and stable before proceeding. Properly installed toilets contribute to a reliable plumbing system, reducing the need for future toilet installation and repair work. Solid connections create a lasting fixture that enhances the functionality of the bathroom.
Steps for Attaching the Bowl Securely
Once the frame is securely in place, it's time to attach the toilet bowl. Begin by positioning the bowl over the frame, ensuring alignment with the mounting brackets. Use the provided screws to fasten the toilet to the frame, tightening them firmly but not excessively. It’s important to check that the bowl is level before fully securing it, as any misalignment could lead to issues down the line.
After securing the bowl, attach the cistern according to the manufacturer's instructions. Ensure all connections are tight and leak-free. Gradually refill the cistern to check for any discrepancies; this initial test is crucial in toilet installation and repair. A properly attached bowl will not only function correctly but also enhance the overall stability and performance of your wall-hung toilet.
FAQS
What tools do I need to install a wall-hung toilet?
You will typically need a drill, level, measuring tape, wrench, screwdriver, and possibly a saw for cutting the support frame and plumbing lines.
How long does it take to install a wall-hung toilet?
The installation process can take anywhere from 2 to 4 hours, depending on your experience with plumbing and the complexity of the installation.
Do I need a plumber to install a wall-hung toilet?
While it's possible to install a wall-hung toilet yourself if you have the necessary skills, hiring a qualified plumber is recommended to ensure compliance with local plumbing codes and a proper installation.
Are wall-hung toilets more expensive than traditional toilets?
Yes, wall-hung toilets typically cost more than traditional floor-mounted toilets due to the additional components like support frames and concealed cisterns.
Can I install a wall-hung toilet in a small bathroom?
Absolutely! Wall-hung toilets are ideal for small bathrooms as they save space and can create a more open feel. However, make sure to consider the weight capacity of the support frame and ensure proper installation.