Table Of Contents
Preparing for Installation
Before beginning any sink installation and repair project, it’s essential to gather all necessary tools and materials. Common items you'll need include a basin wrench, plumber’s putty, silicone caulk, and a screwdriver. Having everything on hand can streamline the process and help avoid unnecessary interruptions. It’s also a good idea to read through the manufacturer’s instructions for your new sink to understand specific requirements related to your model or brand.
Next, ensure that the work area is clean and free of any debris. Cleaning the surrounding area will prevent dirt or grime from interfering with the installation and may help achieve a better fit. If there is an existing sink, remove it carefully and inspect the plumbing for any damage. Taking the time to prepare the space adequately will provide a solid foundation for the new installation and reduce the chances of future issues.
Cleaning and Caulking the Sink Area
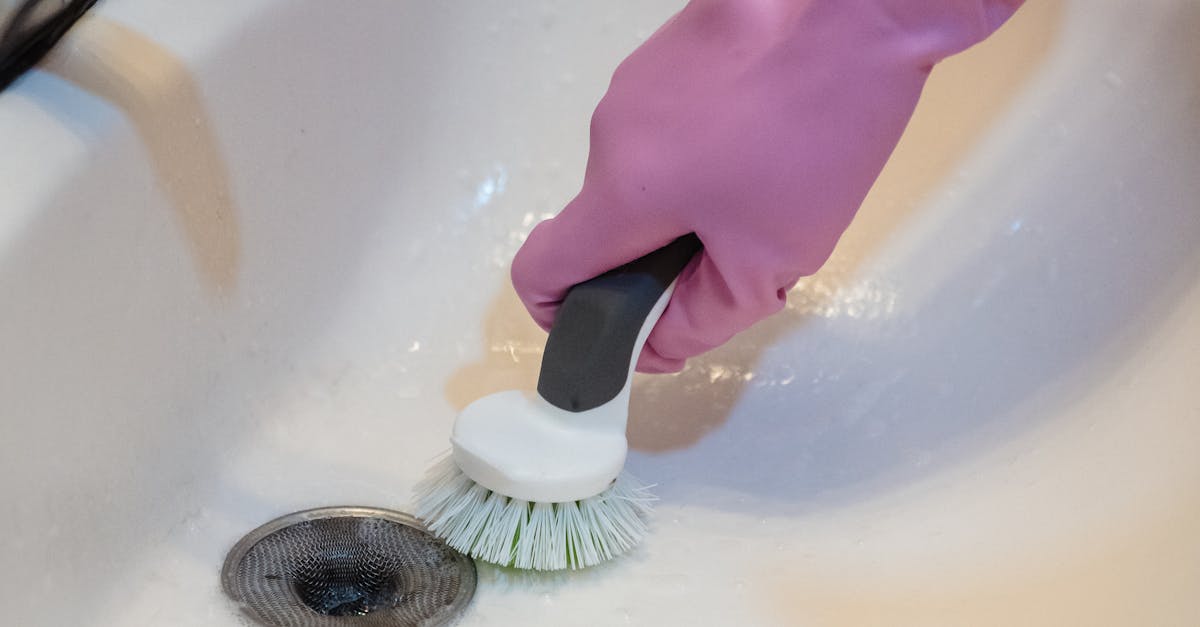
Before you commence the sink installation and repair process, it’s essential to ensure that the area around the existing sink is clean and free from debris. Start by removing any old caulk or grime using a utility knife or scraper. Pay special attention to the edges and corners where dirt may have accumulated over time. Once you’ve stripped away the old material, wipe down the surface with a damp cloth to remove any dust or residue. A clean area will help the new sink adhere properly, creating a more effective seal.
After cleaning, the next step involves applying new caulk to provide a watertight seal. Choose a silicone or latex caulk designed for kitchen or bathroom use to prevent mould growth and ensure durability. Using a caulking gun, apply a steady bead of caulk around the sink’s edge, making sure to cover any gaps between the sink and countertop. Smooth the caulk with a wet finger or a caulking tool to create an even finish. Allow the caulk to cure according to the manufacturer's instructions before proceeding with the installation.
Installing the New Sink
Once the old sink is removed, it’s essential to ensure the countertop surface is clean and smooth. Remove any leftover caulk and debris from the previous installation. Any rough edges might interfere with the seal of the new sink. Lay down a bead of plumbing silicone around the edge of the sink cutout. This provides a watertight seal that prevents leaks while also keeping the sink secure during installation.
Position the new sink carefully into the cutout. Check that it fits snugly without any gaps. Secure the sink in place according to the manufacturer's instructions. Typically, this involves using mounting clips or brackets that hold the sink firmly against the underside of the countertop. Once secured, wipe away any excess silicone that may have squeezed out during the installation. This step is crucial for maintaining cleanliness and ensuring that the aesthetic of the area remains intact. Proper sink installation and repair can make a significant difference in the longevity and functionality of your kitchen or bathroom setup.
StepbyStep Guide to Securing the Sink
To secure the sink properly, start by positioning the sink in the designated cut-out in the countertop. If the sink includes clips or brackets, attach these to the underside of the countertop according to the manufacturer’s instructions. For drop-in sinks, a bead of silicone caulking around the edge can enhance the seal and stability. Make sure the sink sits evenly before applying any additional support.
Next, use a level to check that the sink is aligned correctly. Adjust until it's level, as an improperly installed sink can lead to drainage issues. Once positioned, tighten the clips or nuts firmly to secure the sink in place. Remember to give the installation some time to set if you used caulking. This process is critical, as proper sink installation and repair can greatly affect the longevity and functionality of your kitchen or bathroom space.
Connecting Plumbing Fixtures
Connecting the plumbing fixtures is a critical step in the sink installation and repair process. Begin by positioning the sink, ensuring that the drain hole aligns with the plumbing. Use a plumber's putty or silicone sealant around the drain, then carefully insert the drain assembly. This creates a watertight seal essential for preventing leaks. Next, attach the sink’s water supply lines. It’s important to choose the right connectors based on your existing plumbing setup to ensure compatibility.
Once the water supply lines are connected to the faucet, test the installation for any potential issues. Turn on the water supply slowly, observing for leaks at the connection points. If any leaks occur, tighten the connections appropriately but avoid overtightening, which could cause damage. Use a towel to dry the areas as you inspect them, keeping the workspace clean. This attention to detail during the sink installation and repair helps guarantee a successful and long-lasting fixture setup.
Ensuring LeakFree Connections
Ensuring leak-free connections is a critical step in the process of sink installation and repair. To begin, inspect all fittings and pipes for any signs of wear or damage. If you discover that a fitting is cracked or a pipe is corroded, it’s wise to replace them before proceeding. Use Teflon tape on threaded connections, ensuring it wraps cleanly around the threads to create a tight seal. This precaution helps to prevent any water from seeping through gaps, which can lead to unwanted leaks.
Once the fixtures are properly connected, turn on the water supply gradually while keeping an eye on all joints and connections. Monitor for any drips or moisture accumulation. It is prudent to allow the system to stabilise for a few minutes after activation. Tightening any loose connections during this time can prevent issues later. Regular checks over the next few days will help you catch any potential leaks early.
FAQS
Is it safe to install a new sink myself?
Yes, it is safe to install a new sink yourself if you have the right tools and follow instructions carefully. However, if you're unsure or uncomfortable with plumbing work, it's best to consult a professional.
What tools do I need to install a new sink?
Common tools needed for sink installation include a basin wrench, adjustable wrench, screwdriver, plumber's putty or silicone caulk, and a utility knife.
How long does it typically take to install a new sink?
The time required can vary, but most DIY sink installations take between 2 to 4 hours, depending on your experience level and the complexity of the installation.
Do I need to turn off the water supply before installing a new sink?
Yes, you should always turn off the water supply to avoid any leaks or water damage during the installation process.
What should I do if I encounter a leak after installing the sink?
If you encounter a leak, first turn off the water supply. Check the connections to ensure they are tight and properly sealed. If the leak persists, you may need to disassemble the installation and check for any damaged parts or improper sealing.
