Table Of Contents
Steps to Remove the Old Sink
To begin the process of removing your old sink, it’s essential to turn off the water supply and disconnect any attached plumbing. This step ensures that no water spills during the removal process. Use a basin wrench or adjustable pliers to loosen the nuts holding the sink’s drain assembly in place. Detaching the supply lines is equally important; be prepared for some residual water when you unscrew them. A towel or basin can assist in managing any spills while you work.
Once the plumbing is disconnected, the next step involves securing the sink to prevent movement. If the sink is sealed with silicone or adhesive, a utility knife can help cut through the seal, allowing for easier removal. Carefully lift the sink from its position. If you encounter resistance, check for any remaining clips or brackets holding it in place. Proper handling during this stage will simplify your upcoming sink installation and repair tasks.
Safety Precautions to Keep in Mind
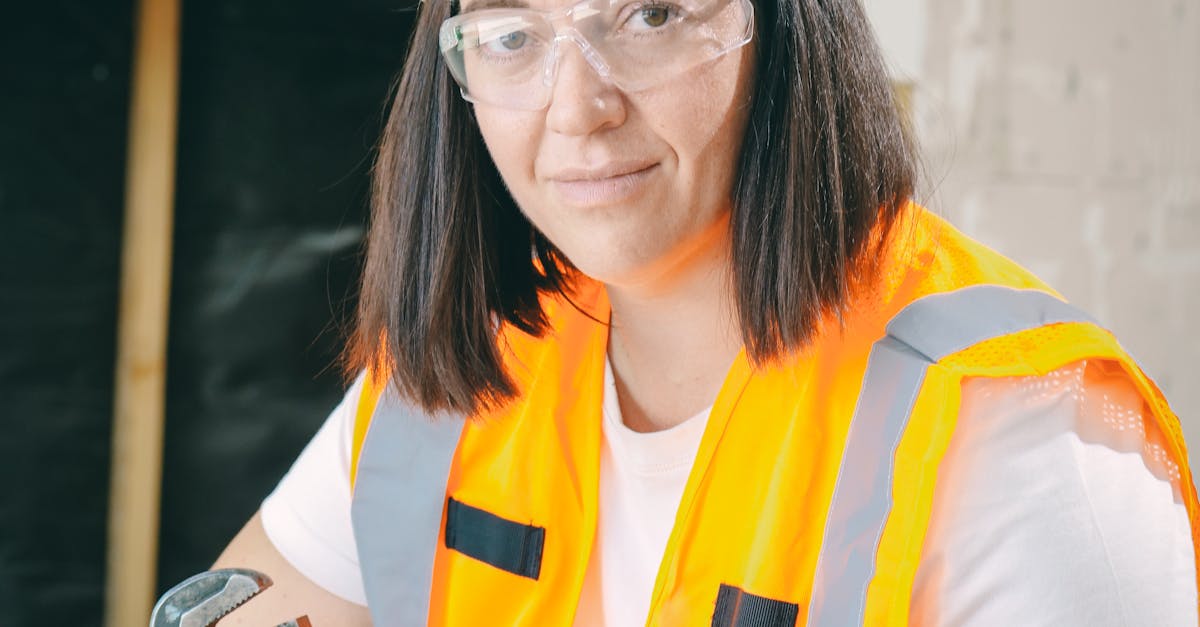
Safety should be a top priority when undertaking any DIY project, including sink installation and repair. Before starting the process, ensure that the water supply is turned off to prevent any leaks or unexpected bursts while working. It’s advisable to use protective eyewear and gloves to safeguard against sharp edges and potential spills. Keeping your working area dry and free of clutter can help minimise the risk of slips and falls.
Always be aware of any electrical components nearby to avoid hazards. If the sink is mounted on a countertop with integrated plumbing, take extra care when handling the existing fixtures. Weigh the new sink to ensure it can be comfortably managed, especially during installation. If at any point you feel unsure about proceeding, seeking assistance from a professional can help maintain your safety and ensure a proper installation.
Preparing for the New Sink Installation
Before beginning the installation of the new sink, it is essential to ensure that the area surrounding the sink is well-prepared. Remove any items that may obstruct the workspace. This may include clearing away dish racks, cleaning supplies, or other kitchen implements. Inspect the area for any damage that may need attention. Any leaks or water damage should be addressed to avoid complications later during the sink installation and repair process. A clean and dry surface will significantly aid in the successful fit of the new sink.
Once the area is clear and any necessary repairs are completed, it is important to gather all required tools and materials for the installation. Having everything at hand before starting can streamline the process and reduce frustration. Check the new sink specifications to ensure compatibility with the existing plumbing. Assess the fittings and fixtures that will be used, as these should match the requirements of the new sink. Proper preparation will not only facilitate a smoother installation but also contribute to the longevity of your new sink.
Cleaning and Repairing the Surrounding Area
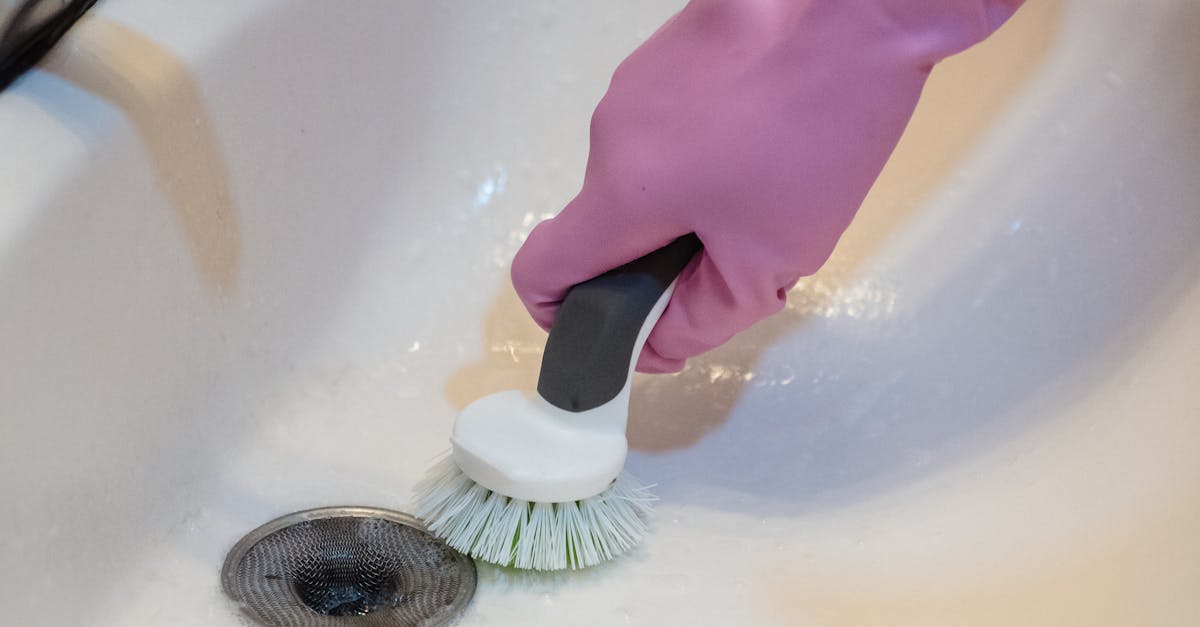
Before fitting the new sink, it’s essential to clean the area thoroughly. Remove any debris, old caulking or adhesive from the countertop and the sink cavity. Check for any water damage or stains that might indicate leaks. Using a putty knife or scraper can assist in this process. After clearing the space, disinfect it to prevent mould and mildew growth. This preparatory step is vital for ensuring a secure fit for the new sink.
Once the cleaning is complete, assess the condition of the surrounding area. Repair any imperfections that could affect the sink installation and repair. Patching any gaps or cracks ensures a smooth surface for the new sink to rest on. Use a quality filler for any significant holes, and let it cure properly before continuing. A well-maintained area enhances the durability and longevity of the new installation.
Installing the New Sink
Before commencing the sink installation, ensure that you have all the necessary tools and materials ready. Secure the new sink in place using silicone sealant applied around the edges. This prevents water leakage and helps maintain a robust seal between the sink and the countertop. Carefully lower the sink into the designated opening, ensuring it sits evenly and snugly.
To make the sink installation and repair easier, consider using mounting clips if provided with your new sink. These clips can be tightened to secure the sink firmly against the countertop. Once the sink is in place, connect the plumbing fixtures such as the drain and faucet according to the manufacturer's instructions. Double-check all connections for leaks before proceeding to the next steps in your kitchen or bathroom renovation.
Common Techniques for Secure Fitting
Achieving a secure fit during sink installation and repair is crucial to prevent leaks and ensure durability. When setting the new sink, ensure that it sits evenly on the countertop. Check the edges for any gaps or unevenness, and use shims if necessary to create a level surface. It’s also important to follow the manufacturer’s guidelines regarding the placement and securing of the sink. Using a quality silicone sealant around the edges can create a watertight seal that helps avoid any potential issues down the line.
Fastening the sink onto the countertop can be accomplished using clips or brackets, depending on the sink type. Ensure that the clips are evenly spaced to distribute the weight effectively. Tightening the screws just enough to secure the sink without over-tightening is essential, as excessive pressure can crack the countertop material. Once the sink is in position, double-check all connections, including plumbing and drainage, for a complete and thorough installation.
FAQS
Is it possible to replace a sink without having to replace the countertop?
Yes, it is possible to replace a sink without replacing the countertop, as long as the new sink fits within the existing cutout.
What should I do if the new sink doesn't fit the existing cutout?
If the new sink doesn't fit, you may need to modify the countertop or consider a different sink that matches the existing cutout size.
Are there any safety precautions I should take before starting the sink replacement?
Yes, always ensure to turn off the water supply, unplug any electrical connections, and wear appropriate safety gear such as gloves and goggles.
How can I clean and repair the surrounding area before installing the new sink?
Clean the area thoroughly with a suitable cleaner, check for any damaged materials, and repair or replace them as necessary to ensure a secure fit for the new sink.
What are some common techniques to ensure a secure fitting when installing a new sink?
Common techniques include using silicone caulk for sealing, ensuring proper alignment with the plumbing, and securely fastening the sink to the countertop using brackets or clips.
