Table Of Contents
Connecting Plumbing Fixtures
Connecting plumbing fixtures is a crucial step in the process of replacing a kitchen sink. Begin by aligning the sink with the existing plumbing and ensuring a snug fit. It’s essential to connect the water supply lines to the sink's faucet properly. Ensure that the fittings are tightened securely without over-tightening, which can damage the threads. For a leak-free operation, consider using Teflon tape on threaded connections. Experience in sink installation and repair can make this task easier, helping to achieve a professional finish.
Once the water supply lines are connected, the drain assembly needs attention. Position the drain gasket correctly and secure the drain to the sink. This step ensures that water flows smoothly into the plumbing system. After everything is in place, be mindful of any displacement caused by the sink weight. Properly securing and checking these connections minimizes the risk of leaks and potential water damage down the line. Careful execution during sink installation and repair is vital for long-lasting results.
Ensuring Proper Seals and Connections
Proper seals and connections are crucial in any sink installation and repair. When fitting the sink, make sure to use the right type of plumber’s putty or silicone sealant around the edges where the sink meets the countertop. This creates a watertight seal, preventing leaks that can lead to water damage over time. Carefully tighten the mounting clips while ensuring they do not warp the sink, which could compromise the seal.
It's equally important to check the connections between the plumbing fixtures and the sink. Leaks often occur at the points where the water supply lines attach to the faucet and where the drain line connects to the sink. Use an adjustable wrench to tighten these connections, but avoid over-tightening, as this may crack components or strip threads. Regularly inspect these areas for signs of wear or moisture to maintain the integrity of the installation.
Testing for Leaks
Once the kitchen sink is in place, testing for leaks becomes a crucial step to ensure everything is functioning correctly. Start by turning on the water supply and allowing the faucet to run for a few moments. Look closely at all connections, including those beneath the sink, where the water supply lines meet the faucet and drain. Any signs of moisture or drips indicate a potential issue that needs to be addressed immediately to avoid further problems.
If you identify a leak, it’s important to determine its source. Tightening loose fittings may resolve minor issues, but persistent leaks could signal a need for more significant adjustments or even a replacement part. A thorough check during the sink installation and repair process will save time and resources in the long run. Monitor the area for a day or two after installation, as leaks can sometimes manifest after initial use.
Steps to Check and Prevent Water Damage
Inspecting your sink installation and repair regularly is crucial for preventing water damage in your home. Look for any signs of leaks around the base of the sink and under the cabinet. Water stains or dampness can indicate issues that need immediate attention. Tightening connections and replacing worn washers can often resolve minor leaks before they become significant problems.
Another vital step in safeguarding your kitchen from water damage involves ensuring proper drainage. Check that the drain pipes are free from clogs and blockages. Regularly cleaning the sink and disposal unit can help maintain smooth drainage and prevent overflow. Additionally, consider installing a sink mat or rug to absorb any accidental spills, further protecting your cabinetry and flooring from potential water damage.
Tips for Maintaining Your New Sink
Maintaining your newly installed kitchen sink is essential for ensuring its longevity and functionality. Regular cleaning is key to preventing the buildup of grime and stains. Use mild detergents and avoid abrasive cleaners that can scratch the surface. It’s also wise to periodically inspect the sink for any signs of wear, such as loose fittings or corrosion, which can lead to bigger issues over time. Sink installation and repair may help address small concerns before they become significant problems.
It’s important to keep the sink and its drains clear of debris to avoid blockages. Periodically, run hot water down the drain to help dissolve any grease or soap buildup. Additionally, consider using a mixture of baking soda and vinegar for natural cleaning and deodorising. By following these simple maintenance steps, you can not only enhance the appearance of your sink but also extend its useful life, making sink installation and repair much less frequent.
Cleaning and Care Guidelines
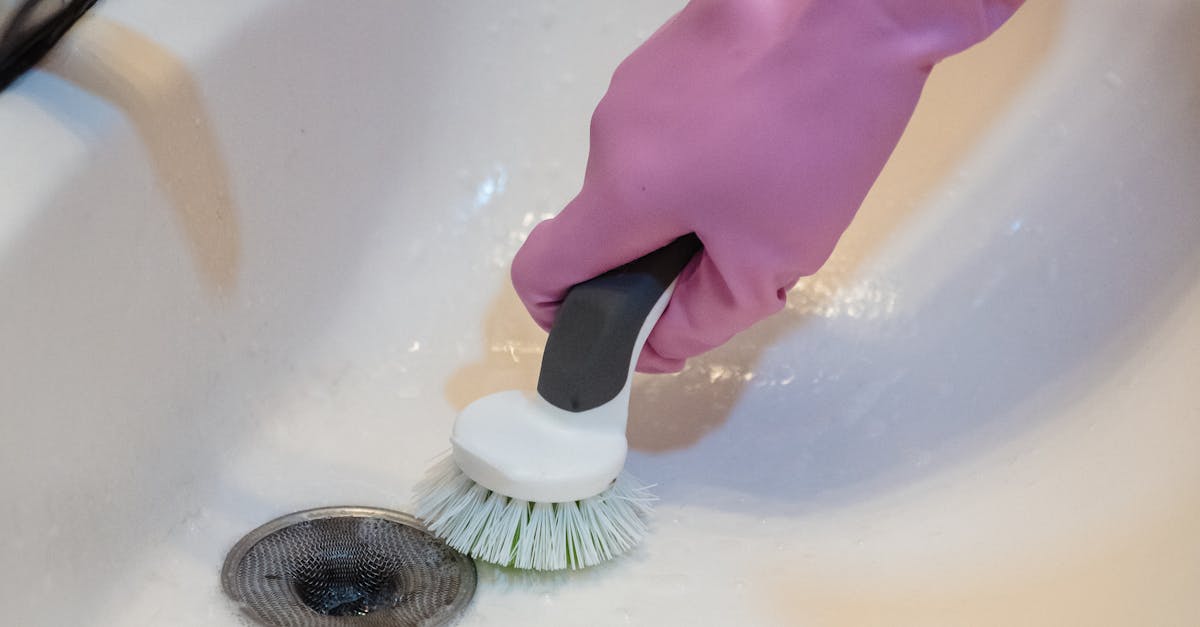
Regular cleaning is essential for maintaining the appearance and longevity of your new sink. Use a mild detergent and a soft cloth to wipe down the surface. Avoid harsh chemicals or abrasive scrubbers, as these can scratch or discolour the material. Pay special attention to the area around the faucet and drain where grime tends to accumulate. It's also advisable to rinse the sink thoroughly after cleaning to prevent any soap residue from building up.
In addition to routine cleaning, proper care can prevent more significant issues over time. Regularly inspect the seals and connections to ensure there are no signs of wear or damage. This diligence can help avert leaks that may complicate sink installation and repair. If you notice any persistent stains or water spots, consider using a specialised cleaner designed for your sink’s material. Keeping your sink well-maintained not only enhances its appearance but also extends its functional life.
FAQS
Is it advisable for a DIY novice to replace a kitchen sink?
While it is possible for a DIY novice to replace a kitchen sink, it may be challenging due to the plumbing connections and sealing requirements. If you're unsure, consulting a professional can save time and prevent potential issues.
What tools do I need to replace a kitchen sink?
Common tools required for replacing a kitchen sink include a basin wrench, adjustable wrench, screwdriver, plumber's putty, and a utility knife. Having these tools on hand will make the process smoother.
How long does it typically take to replace a kitchen sink?
The time it takes to replace a kitchen sink can vary, but on average, it may take between 2 to 4 hours, depending on your experience and the complexity of the plumbing.
What should I do if I find a leak after replacing my sink?
If you discover a leak after replacing your sink, turn off the water supply immediately. Check all connections for tightness, and ensure that seals are intact. If the issue persists, consider calling a plumber for assistance.
Are there specific maintenance tips for a new kitchen sink?
Yes, to maintain your new kitchen sink, regularly clean it with mild soap and warm water, avoid using abrasive cleaners, and ensure proper sealing around the edges to prevent water damage.
