Table Of Contents
Installing the New Sink
Correct placement of the sink is crucial for an effective installation. Before starting, check that the opening in the countertop is suitably sized. Use a level to ensure the sink sits evenly. Position the sink into the opening carefully, avoiding any unnecessary force that might damage the surrounding area.
Once the sink is in place, securing it properly is essential to prevent any movement. Follow the manufacturer's instructions for attaching the sink to the countertop. For most sinks, a combination of adhesive and brackets will provide the necessary support. After fixing the sink, double-check that it is stable before moving on to the next phase of your plumbing project. Sink installation and repair processes can benefit from meticulous attention to detail during this stage.
Securing the Sink Properly
Securing the sink properly is crucial to ensure its stability and functionality. Begin by placing the sink into the designated space and ensuring it sits level. Once positioned, use the provided brackets or mounting clips to attach the sink to the countertop or cabinetry. Following manufacturer guidelines is important during this step, as each sink installation and repair may have unique requirements. Tightening the screws or bolts firmly, but not excessively, will create a solid connection while preventing damage.
After the initial connection, it's time to check the sink for any movement. Gently press down on the sink, paying attention to any wiggles or shifts. If movement is detected, further tightening of the mounts may be necessary. Additionally, consider applying a bead of plumbers’ silicone sealant around the edges where the sink meets the countertop. This not only aids in securing the sink but also helps prevent water from seeping underneath, leading to potential issues down the line.
Connecting the Drainage System
Connecting the drainage system is a crucial step in ensuring that your new sink functions properly. Start by attaching the waste pipe to the sink strainer, which usually requires a plumber's putty or silicone for sealing. It's important to make sure all connections are tight to prevent any leaks. Depending on your sink design, you may need to install a p-trap, which helps to prevent sewer gases from entering your home. Before proceeding, double-check that the height of your sink aligns with the existing drainage system to avoid any complications during the installation process.
Once the p-trap is installed, you can move on to connecting the drainage system to the home's plumbing. This involves aligning the p-trap with the wall or floor drain, ensuring that it slopes downwards slightly to facilitate proper drainage. Tighten all connections and use a wrench if necessary, but take care not to overtighten, as this can damage the fittings. Sink installation and repair may seem daunting at first, but following these steps will help you achieve a watertight and effective drainage setup. Regularly inspecting your connections in the future can also aid in early identification of any potential issues.
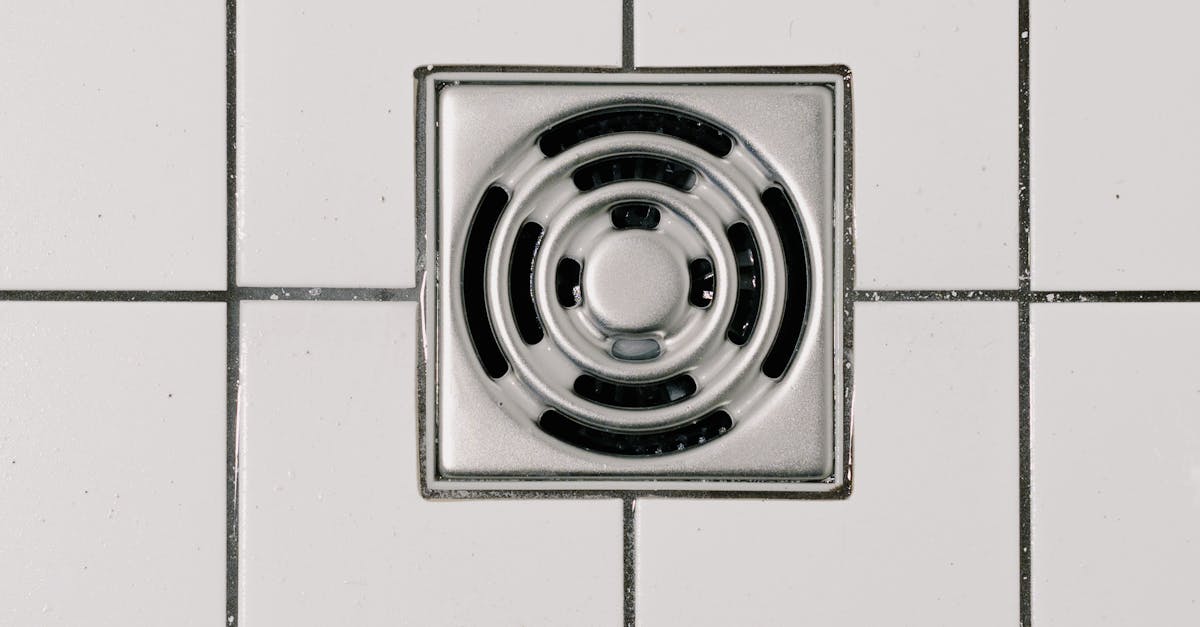
Ensuring Proper Drain Alignment
Proper drain alignment is crucial for effective wastewater removal and to prevent future plumbing issues. During sink installation and repair, the drainpipes need to line up correctly with the sink’s drainage system. Any misalignment can lead to leaks or clogs, which may necessitate additional work or even complete replacement of drain components. Ensuring that the horizontal and vertical sections of the drain are level and angled appropriately will facilitate smooth drainage.
To achieve proper alignment, begin by temporarily securing the sink without fully tightening the bolts. This allows for easy adjustments to the drainpipe connection. Once the sink is positioned accurately, check the flow of water through the drain by running the tap. Observing the water’s movement helps identify any potential misalignments. Making adjustments at this stage can save time and hassle later on, reinforcing the importance of careful alignment during sink installation and repair.
Testing for Leaks
After completing the sink installation and repair, it is crucial to check for any leaks. Start by filling the sink with water to its normal operating level. Carefully inspect all the joints and connections, particularly around the drainage system and tap fixtures. Any signs of water pooling or dripping indicate that adjustments may be necessary. It's best to run your fingers along the edges while looking for moisture to ensure you catch any minor issues that could lead to bigger problems later.
Once the water has been drained, monitor the area for a few minutes. This allows time for any hidden leaks to manifest. If you spot any leaks, it might require tightening connections or using plumber’s tape to enhance seals. Don’t overlook the importance of this step. Addressing leaks immediately ensures the longevity of your sink and prevents potential water damage to surrounding areas.
Methods to Identify Potential Issues
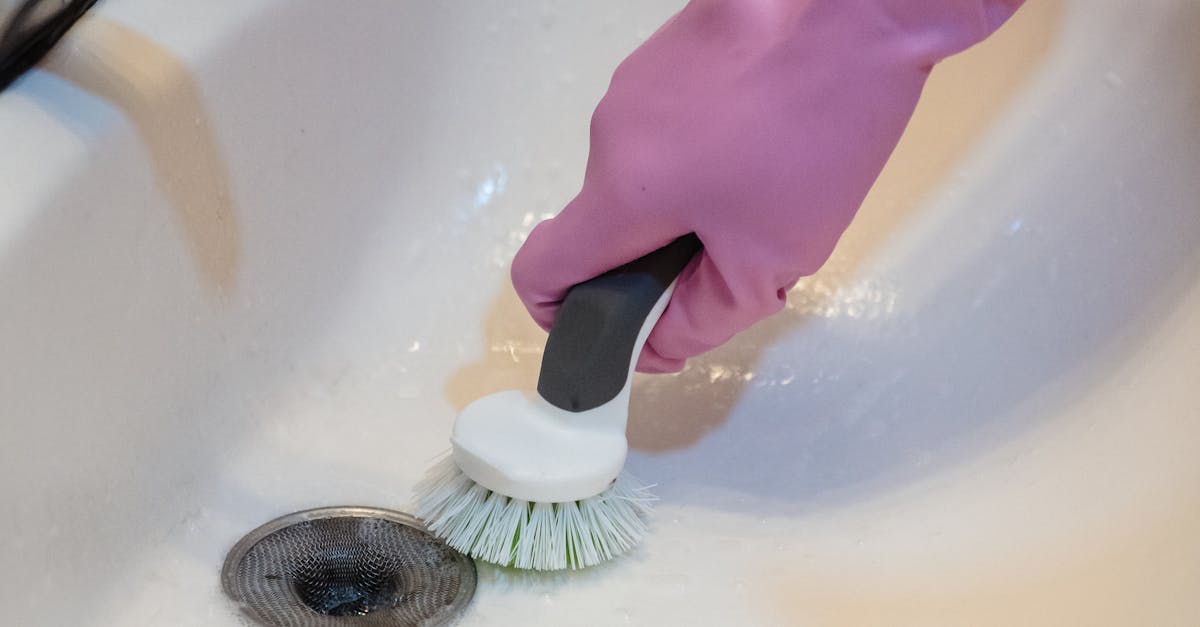
Identifying potential issues during sink installation and repair is crucial to ensuring a successful outcome. One effective method involves visual inspections after each connection. Checking all joints and fittings can help pinpoint any irregularities or misalignments. Pay attention to any signs of water pooling or dampness around the sink area. These indicators often signal a leak that needs to be addressed. Regular monitoring during the first few days post-installation also allows for the early detection of issues that may not have been apparent initially.
Another useful approach is to conduct a pressure test on the drainage system. By temporarily sealing the drain and filling the sink with a small amount of water, you can observe for leaks. If water begins to seep from any connections, it indicates a potential problem that should be rectified before regular use. Using a towel or cloth to dry the connections before testing can help highlight any emerging drips that may otherwise go unnoticed. This proactive method is essential for both sink installation and repair, ensuring that the system operates efficiently.
FAQS
How long does it typically take to replace a sink?
The time it takes to replace a sink can vary, but on average, it usually takes between 2 to 4 hours, depending on your level of experience and the complexity of the installation.
Do I need any special tools to replace a sink?
Yes, some essential tools include a basin wrench, adjustable pliers, a screwdriver, and a putty knife. You may also need a sealant or plumber's tape to ensure a proper seal.
Is it necessary to turn off the water supply when replacing a sink?
Absolutely. It's crucial to turn off the water supply to avoid any leaks or flooding while you are working on the sink replacement.
Can I replace a sink by myself, or should I hire a professional?
If you have basic plumbing skills and the right tools, you can replace a sink by yourself. However, if you're unsure or uncomfortable with plumbing work, it's best to hire a professional.
What should I do if I encounter leaks after replacing my sink?
If you notice leaks, first check all connections to ensure they are tight and properly sealed. If the issue persists, you may need to re-seal or re-connect certain parts or consult a professional plumber for assistance.