Table Of Contents
Use Pipe Repair Tape
Pipe repair tape is a highly effective and straightforward solution for addressing small leaks without the need for professional assistance. This self-fusing silicone tape wraps around the leaking area, creating a waterproof seal that can withstand both high and low-pressure conditions. The tape is designed to adhere to itself, making it easy to apply and ensuring a tight bond when wrapped correctly. It's a popular choice for quick fixes and can be used on various piping materials, making it versatile for different types of pipe installation and repair situations.
When using pipe repair tape, ensure the surface is clean and dry for optimal adhesion. Cut a length of tape and stretch it as you wrap it around the leak, overlapping each layer by half to maintain a uniform thickness. Work your way along the damaged section, ensuring that the tape is applied evenly and tightly. Once fully wrapped, the tape will create a durable barrier against leaks, providing a temporary solution until a more permanent fix can be arranged.
Application Techniques for Effective Sealing
When applying pipe repair tape, ensure the area around the leak is clean and dry. Start wrapping the tape around the pipe, overlapping each turn by half the width of the tape. This helps create a tighter seal. It is essential to apply enough tension while wrapping to prevent the tape from slipping or loosening over time. Focus on covering the leaking area thoroughly, as this will provide the best chance for an effective seal.
After wrapping, press down firmly on the tape to secure it in place. Allow the tape to sit undisturbed for a period as recommended by the manufacturer for optimal adhesion. This technique can be particularly useful for temporary fixes, often seen in emergency situations. Effective sealing is crucial in any pipe installation and repair process to prevent water damage and maintain the integrity of your plumbing system.
Apply Epoxy Putty
Epoxy putty can be an effective solution for sealing leaks. This versatile material is often used in pipe installation and repair because of its exceptional bonding properties and resistance to water once cured. Before you start, ensure the area around the leak is clean and dry. This may require wiping it down with a cloth or sandpaper for better adhesion. Once the surface is prepared, take a small amount of putty and knead it until it is uniform in colour.
Carefully apply the putty to the damaged area, making sure to cover the leak completely. Press it firmly into the pipe's surface and shape it as needed to create a smooth seal. It’s important to allow enough time for the epoxy to set, which usually takes around an hour, depending on the specific product used. After it has cured, you can check the repair by turning on the water to see if the leak has been successfully sealed. Proper application of epoxy putty can save time and effort while providing a sturdy temporary fix.
StepbyStep Guide to Usage
To effectively use epoxy putty for fixing a leaking pipe, begin by ensuring that the area around the leak is clean and dry. Remove any loose debris or rust, as this will help the putty adhere better to the surface. Cut a portion of the epoxy putty to fit the size of the leak. Knead the putty until it becomes a uniform colour, indicating that it is ready for application.
Once prepared, firmly press the putty onto the leak, smoothing it out with your fingers to create a tight seal. Be generous with the amount used, allowing for some overlap on the pipe surface. Maintain pressure for a few minutes to ensure proper adhesion. Allow the putty to cure as per the manufacturer’s instructions before testing the pipe. Regular monitoring is essential after the repair, as this method can temporarily fix leaks while preventing further issues with pipe installation and repair.
Replace the Damaged Section
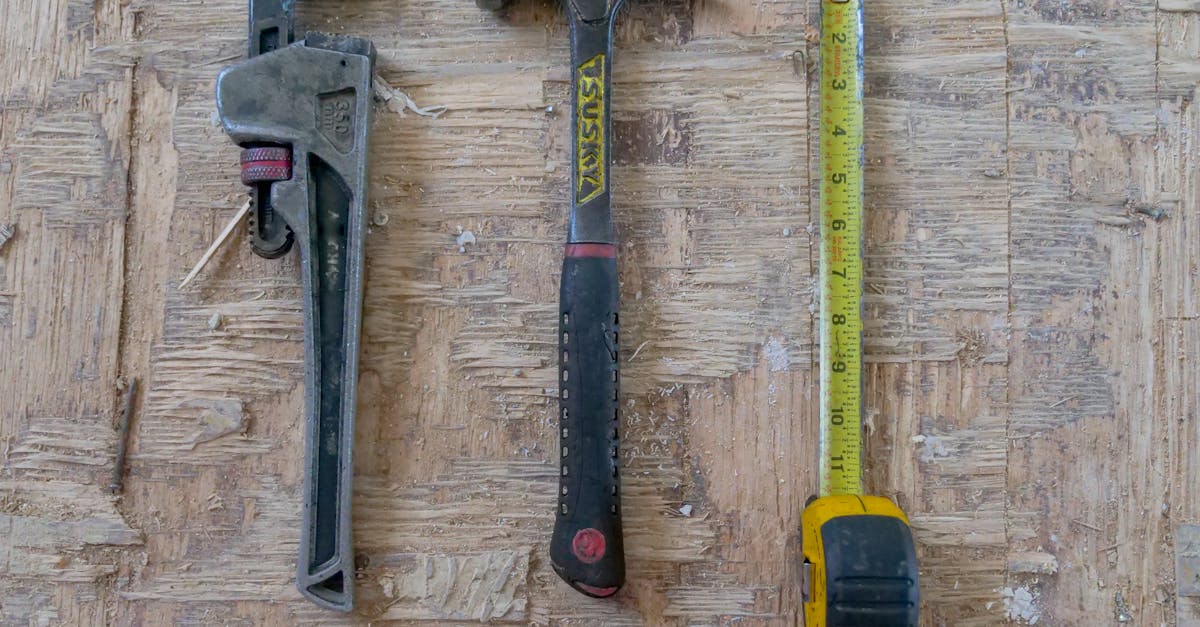
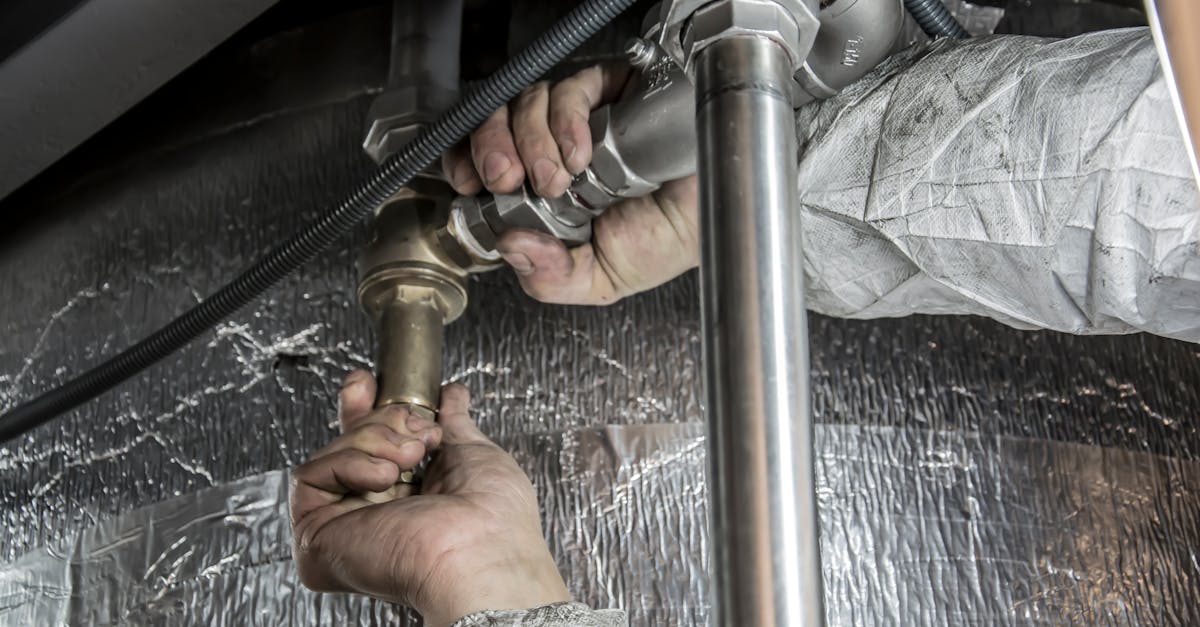
In some instances, a leaking pipe may require more than just a temporary fix. In such cases, replacing the damaged section is necessary to ensure long-term functionality. Gather the right tools before beginning the process, including a pipe cutter, adjustable wrench, and appropriate replacement pipe or fittings. Ensure that you turn off the water supply to prevent further leaks and flooding during your repair.
When preparing for the replacement, assess the extent of the damage. Cut out the compromised section using the pipe cutter, maintaining clean edges for proper sealing. Use a pipe fitting compatible with the existing plumbing to facilitate a secure connection. Pipe installation and repair require not only the right materials but also careful measurements to ensure everything fits securely without leaks. Take your time during this process to avoid future complications.
Proper Steps for Pipe Replacement
Replacing a damaged section of pipe requires careful planning and execution to ensure a successful outcome. Begin by turning off the water supply to avoid further leaks or flooding. Use a pipe cutter to remove the damaged section, making clean cuts that will facilitate proper sealing with the new pipe. Ensure that the surrounding area is dry and clear of debris for a better fit.
After removing the damaged section, measure the length required for the new pipe to ensure a proper fit. Insert the new piece, securing it with appropriate fittings and clamps. If using PVC or similar materials, apply primer and cement for effective bonding. Recalculate the pipe installation and repair process every step of the way, checking for any signs of misalignment or loose connections before turning the water supply back on.
FAQS
Can I use duct tape to fix a leaking pipe?
While duct tape may offer a temporary solution for minor leaks, it is not a long-term fix. Pipe repair tape or specialised plumbing tape is recommended for a more effective and durable seal.
How long will epoxy putty last on a leaking pipe?
Epoxy putty is designed to create a strong and lasting bond, and it can last for many years if applied correctly. However, the longevity also depends on the conditions and stresses the pipe is subjected to.
What tools do I need to replace a damaged section of pipe?
To replace a damaged section of pipe, you typically need a pipe cutter, adjustable wrench, pipe fittings, plumber's tape, and possibly a soldering kit if working with copper pipes.
Is it safe to fix a leaking pipe myself?
Yes, fixing a leaking pipe yourself can be safe as long as you follow proper procedures and take necessary precautions. However, always consider the severity of the leak; if it’s extensive or involves complex plumbing, calling a plumber may be the best choice.
What should I do if my DIY repair doesn’t stop the leak?
If your DIY repair does not stop the leak, it’s advisable to turn off the water supply and reassess the repair method used. If the issue persists, contacting a licensed plumber may be necessary for a more permanent solution.